


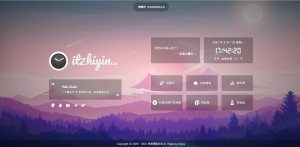
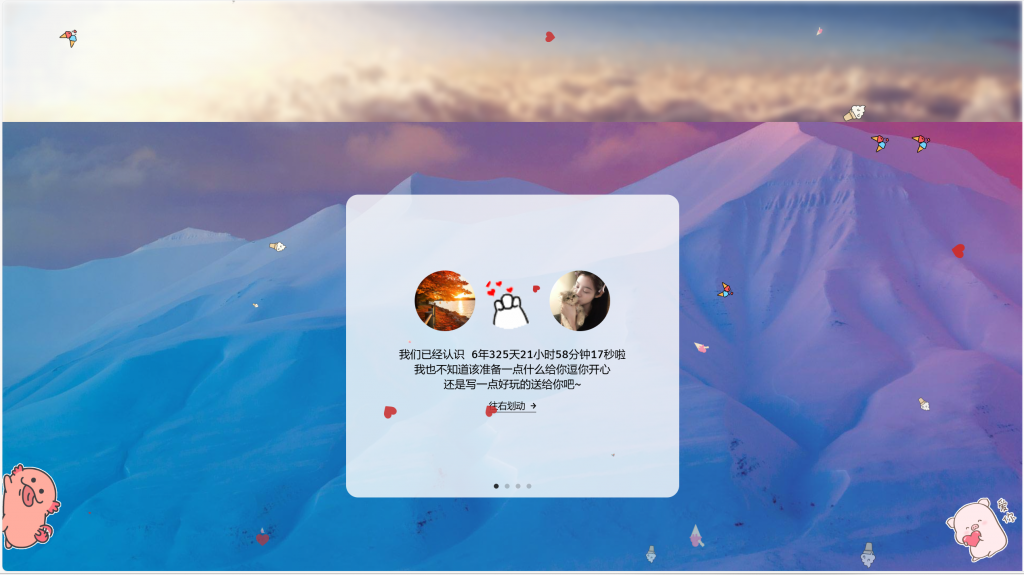
40.给网站添加一个灯笼
一、子比后台—自定义代码—自定义底部代码。
<!-- 灯笼1 -->
<div class="deng-box">
  <div class="deng">
    <div class="xian"></div>
    <div class="deng-a">
      <div class="deng-b"><div class="deng-t">节</div></div>
    </div>
    <div class="shui shui-a"><div class="shui-c"></div><div class="shui-b"></div></div>
  </div>
</div>

<!-- 灯笼2 -->
<div class="deng-box1">
  <div class="deng">
    <div class="xian"></div>
    <div class="deng-a">
      <div class="deng-b"><div class="deng-t">春</div></div>
    </div>
    <div class="shui shui-a"><div class="shui-c"></div><div class="shui-b"></div></div>
  </div>
</div>
二、WP后台— 外观 —自定义—额外CSS。
默认是灯笼都在右上角位置,比照原文主要是调整了位置,避免遮挡顶部导航菜单。
/**过年灯笼*/
.deng-box {
  position: fixed;
  top: 40px;
  right: -50px;
  z-index: 999;
}

.deng-box1 {
  position: fixed;
  top: 40px;
  z-index: 999;
  right: -20px;
}

.deng-box1 .deng {
  position: relative;
  width: 120px;
  height: 90px;
  margin: 50px;
  background: #d8000f;
  background: rgba(216, 0, 15, 0.8);
  border-radius: 50% 50%;
  -webkit-transform-origin: 50% -100px;
  -webkit-animation: swing 5s infinite ease-in-out;
  box-shadow: -5px 5px 30px 4px rgba(252, 144, 61, 1);
}

.deng {
  position: relative;
  width: 120px;
  height: 90px;
  margin: 50px;
  background: #d8000f;
  background: rgba(216, 0, 15, 0.8);
  border-radius: 50% 50%;
  -webkit-transform-origin: 50% -100px;
  -webkit-animation: swing 3s infinite ease-in-out;
  box-shadow: -5px 5px 50px 4px rgba(250, 108, 0, 1);
}

.deng-a {
  width: 100px;
  height: 90px;
  background: #d8000f;
  background: rgba(216, 0, 15, 0.1);
  margin: 12px 8px 8px 10px;
  border-radius: 50% 50%;
  border: 2px solid #dc8f03;
}

.deng-b {
  width: 45px;
  height: 90px;
  background: #d8000f;
  background: rgba(216, 0, 15, 0.1);
  margin: -4px 8px 8px 26px;
  border-radius: 50% 50%;
  border: 2px solid #dc8f03;
}

.xian {
  position: absolute;
  top: -20px;
  left: 60px;
  width: 2px;
  height: 20px;
  background: #dc8f03;
}

.shui-a {
  position: relative;
  width: 5px;
  height: 20px;
  margin: -5px 0 0 59px;
  -webkit-animation: swing 4s infinite ease-in-out;
  -webkit-transform-origin: 50% -45px;
  background: #ffa500;
  border-radius: 0 0 5px 5px;
}

.shui-b {
  position: absolute;
  top: 14px;
  left: -2px;
  width: 10px;
  height: 10px;
  background: #dc8f03;
  border-radius: 50%;
}

.shui-c {
  position: absolute;
  top: 18px;
  left: -2px;
  width: 10px;
  height: 35px;
  background: #ffa500;
  border-radius: 0 0 0 5px;
}

.deng:before {
  position: absolute;
  top: -7px;
  left: 29px;
  height: 12px;
  width: 60px;
  content: " ";
  display: block;
  z-index: 999;
  border-radius: 5px 5px 0 0;
  border: solid 1px #dc8f03;
  background: #ffa500;
  background: linear-gradient(to right, #dc8f03, #ffa500, #dc8f03, #ffa500, #dc8f03);
}

.deng:after {
  position: absolute;
  bottom: -7px;
  left: 10px;
  height: 12px;
  width: 60px;
  content: " ";
  display: block;
  margin-left: 20px;
  border-radius: 0 0 5px 5px;
  border: solid 1px #dc8f03;
  background: #ffa500;
  background: linear-gradient(to right, #dc8f03, #ffa500, #dc8f03, #ffa500, #dc8f03);
}

.deng-t {
  font-family: 华文行楷,Arial,Lucida Grande,Tahoma,sans-serif;
  font-size: 3.2rem;
  color: #dc8f03;
  font-weight: bold;
  line-height: 85px;
  text-align: center;
}

.night .deng-t,
.night .deng-box,
.night .deng-box1 {
  background: transparent !important;
}

@-moz-keyframes swing {
  0% {
    -moz-transform: rotate(-10deg)
  }

  50% {
    -moz-transform: rotate(10deg)
  }

  100% {
    -moz-transform: rotate(-10deg)
  }
}

@-webkit-keyframes swing {
  0% {
    -webkit-transform: rotate(-10deg)
  }

  50% {
    -webkit-transform: rotate(10deg)
  }

  100% {
    -webkit-transform: rotate(-10deg)
  }
}@media screen and (max-width: 768px){.deng-box{position: fixed; top: 23px; right: -50px; z-index: 999;}.deng-box1 { position: fixed; top: 23px; z-index: 999; right: -20px; }}<br>
如果是一边一个,上面代码开头的.deng-box和.deng-box1修改为下面代码即可。
.deng-box {
  position: fixed;
  top: 40px;
  right: -20px;
  z-index: 999;
}

.deng-box1 {
  position: fixed;
  top: 40px;
  z-index: 999;
}@media screen and (max-width: 768px){.deng-box{position: fixed; top: 23px; right: 0; z-index: 999;}.deng-box1 { position: fixed; top: 23px; z-index: 999; right: auto; }}<br>41.首页左侧边栏添加【联系站长】按钮


41.简单一行CSS样式代码实现网站全局变灰


42.文章页底部添加【感谢您的来访,获取更多精彩文章请收藏本站+图片。】
1、网站管理后台—》主题设置—》文章&列表—》文章页 —》 文章页 在文章内容后-插入内容 ,把下面的 php 代码复制粘贴到里面即可。
2、此代码理论上适用所有主题,只需要在合适的地方添加上代码就行
3、代码中的图片调用的是存放在百度的图片链接,可直接引用,部分的文字可修改成自己的
<center><span style="color: #ef0c7e;; font-size: 15px"><strong>------本页内容已结束,喜欢请分享------</strong></span></span><br /></center>
<br />
<h3 class="wp-block-zibllblock-biaoti title-theme"><strong>感谢您的来访,获取更多精彩文章请收藏本站。</strong></h3>
<a href="https://www.itzhiyin.cn" target="_blank"  title="更多精彩文章,请关注“织音博客”">
    <img style="display: inline-block; width: 100%; max-width: 100%; height: auto;border-radius: 9px;  -webkit-border-radius: 9px; -moz-border-radius: 9px;" src="https://pic.rmb.bdstatic.com/bjh/news/fdd2b31cb82b75934bf0a45536fd63cb.gif">
</a> 
演示:

当然也可以只添加图片:
<a href="https://www.itzhiyin.cn"><img src="https://pic.rmb.bdstatic.com/bjh/news/fdd2b31cb82b75934bf0a45536fd63cb.gif" alt="点此收藏本站"></a>
演示:

43.文章内图片鼠标移动到图片外边框自动发光
1、很多时候网页背景也是白的,图片整体也是白色的,有的时候用户不好区分,这是图片还是网页,图片弄个外边框就好区分了,当然图片是鼠标移动到图片上才会显示边框
2、 网站管理后台—》子比主题设置—》自定义代码—》自定 CSS 代码,把下面的 css 代码复制粘贴到里面即可。
里面的 8px 大小可自行调节,颜色代码#63B8FF 也可自行设置
/*鼠标移动图片外发光*/
/*by:织音博客-www.itzhiyin.cn*/
.wp-posts-content img:hover {
box-shadow:0px 0px 8px #63B8FF;
}
效果演示:

44.长文章分页按钮美化
wordpress自带的分页按钮是比较丑的很突兀,经过社长一段下面的 CSS 代码优化之后会变得更加美观
子比主题添加路径:网站管理后台-–》子比主题设置—》自定义代码—》自定义 CSS 样式,把下面的 css 代码复制粘贴到里面即可。
自定义 CSS 代码
效果演示:

45.友情链接右侧申请按钮动态美化
这个是一个小功能,放在首页底部底部也是很好看的
添加方法: 后台设置—>外观—>小工具—>添加 Zibll 链接列表(新版),加到标题右侧按钮即可
<span class="but c-blue radius"><svg class="icon fa-spin" aria-hidden="true"><use xlink:href="#icon-fengche1"></use></svg>申请友链
效果演示:

46.友链图片圆角样式
未优化之前友链的图片是方方正正的,不太好看,优化一下之后顺眼很多
/*友链头像圆角*/
/*by:织音博客-itzhiyin.cn*/
.link-only-img img{border-radius: var(--main-radius);}
.link-img img{border-radius: var(--main-radius);}
效果演示

感谢您的来访,获取更多精彩文章请收藏本站。

© 版权声明
THE END
![WordPress子比主题添加信息统计模块美化[WP教程]-织音博客](https://www.itzhiyin.cn/wp-content/uploads/2022/05/ca94487fd12a-300x128.png)
![WordPress给网站右侧边栏添加百度一下协助SEO优化(以子比主题为例)[WP教程]-织音博客](https://www.itzhiyin.cn/wp-content/uploads/2022/05/1f8cc99afc0e-300x128.png)
![WordPress侧边栏添加滚动播报小工具两种样式[小工具]-织音博客](https://www.itzhiyin.cn/wp-content/uploads/2022/04/981acba9a5dd-300x128.png)


- 最新
- 最热
查看全部